Installing pfSense
This article will guide through selecting an appropriate version of pfSense® software, the initial pfSense installation, and related tasks.
Tip
If you purchased an official Netgate appliance, check the reinstall guide in the appropriate Security Gateway Manual.
Choose Installation Type
To install pfSense, first a few decisions are necessary to pick which type of installation will be performed.
Hardware considerations
When selecting hardware for a new build, carefully consider current and future hardware requirements. These include:
64-bit Intel or AMD CPU (x86-64, amd64) on pfSense 2.4 and later
Must be able to boot from USB or optical drive and run the installer on pfSense 2.4 and later
64-bit or 32-bit
Starting from version 2.4, pfSense supports 64-bit (amd64) exclusively while 32-bit (i386) support remains with pfSense 2.3, which will receive security updates for at least a year after pfSense 2.4.0-RELEASE.
The amd64 platform works on current x86-64 hardware from Intel, AMD, etc. If the hardware is capable of using a 64-bit operating system, then run the amd64 version.
Installer ISO, Memstick or Memstick Serial?
If a Full Install is to be performed, there are three types of install media that can be used to accomplish the task:
Optical disc image (ISO image, CD/DVD disc): Easy and familiar to many, if the target hardware has an optical drive it’s a solid choice, especially if the BIOS will not boot from USB.
Memstick: Like the CD/DVD, but run from a USB thumb drive. Often faster than the CD/DVD. Many new devices do not have integrated optical drives, making this the current best recommendation.
Serial Memstick: Like the Memstick image, but runs using the serial console rather than VGA, for newer embedded systems.
Virtual Machines
Virtual Machines, with hypervisors such as VMware vSphere, Hyper-V, KVM, Proxmox or Xen, should be installed using the ISO image. They can be used to firewall completely inside a hypervisor host for other virtual machines, or for edge filtering/routing tasks.
See Also:
Download pfSense
Pick the chosen Version, Architecture, and Installer type
Download the SHA256 checksum file to verify the image later
Pick a mirror and click the link on its row to download the image from there
Wait for the download to complete
Verify the Downloaded Image
SHA256 checksum files are available, which are viewable in any plain text editor. These SHA256 files can be used to verify the download completed successfully, and that an official release is being used.
Hash calculation programs vary by operating system, some common examples include:
Use HashTab to compare the value against the provided hash. With HashTab installed, right click on the downloaded file to access the File Hashes tab containing the SHA256 hash, among others.
Tip
If a SHA256 hash is not displayed, right click in the hash view and click Settings, then check the box for SHA256 and click OK.
The generated SHA256 hash from HashTab can be compared with the contents of the provided checksum.
Note
It is also possible to use the Linux sha256sum or md5sum
commands within Cygwin if the Cygwin command prompt is launched as an
Admin user.
Use the shasum or md5 command line utilities to generate a hash of
the downloaded file.
Example:
shasum -a 256 pfSense-CE-2.4.4-RELEASE-p3-amd64.iso.gz
The generated SHA256 hash can be compared with the contents of the provided .sha256 checksum.
Use the sha256sum or md5sum command line utilities to generate a
hash of the downloaded file.
sha256sum pfSense-CE-2.4.4-RELEASE-p3-amd64.iso.gz
The generated SHA256 hash can be compared with the contents of the provided .sha256 checksum.
Use the sha256 or md5 command line utilities to generate a
hash of the downloaded file.
sha256 pfSense-CE-2.4.4-RELEASE-p3-amd64.iso.gz
The generated SHA256 hash can be compared with the contents of the provided .sha256 checksum.
Prepare Installation Media
The downloaded image must be written to target media before it can be used. For a Full Install, this media is used to boot and install and then will not be needed again. For Embedded, the target media is the disk (CF/SD) that will contain the Operating System.
Write the installer ISO: If the .iso file was downloaded, it must be burned to a disc as an ISO image. See Writing ISO Images for assistance.
Writing Memstick images: This task is covered with great detail in Writing an OS Installation Image to Flash Media.
Connect to Serial Console
Before attempting to install or boot, if a serial-based image was used, such as Memstick-Serial, connect to the serial console with a appropriate serial cable and terminal options. See Connecting to the Serial Console for specifics.
Performing a Full Install
Power on the target system and connect the install media: Place the CD into the drive or plug the Memstick into a USB port. If the BIOS is set to boot from CD/USB, pfSense will start.
For other boot issues, Installation Troubleshooting.
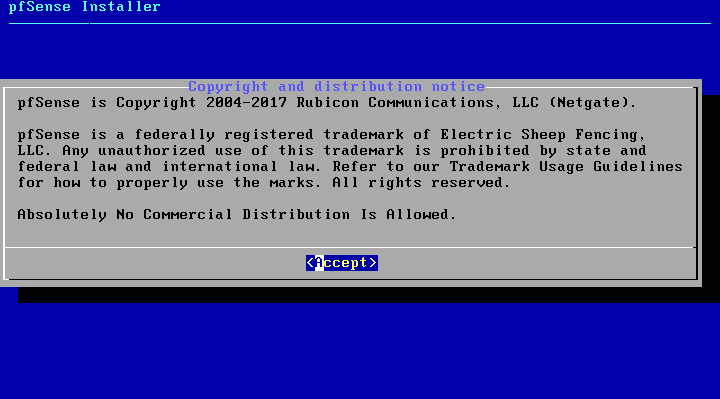
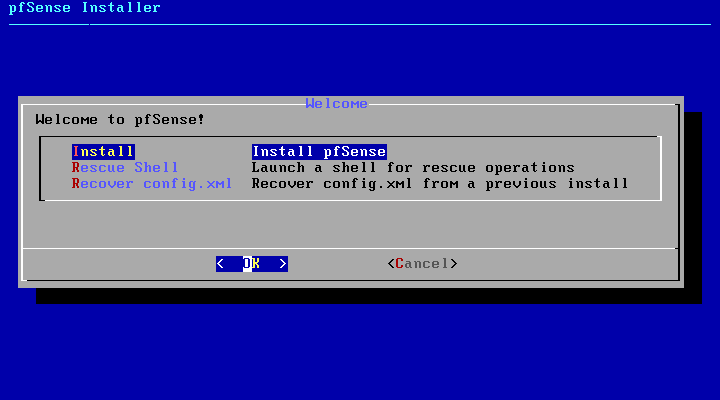
As the operating system boots and pfSense starts, a wizard will start and prompt to accept the copyright and distribution notice.
To start the installation select OK while Install option is selected.
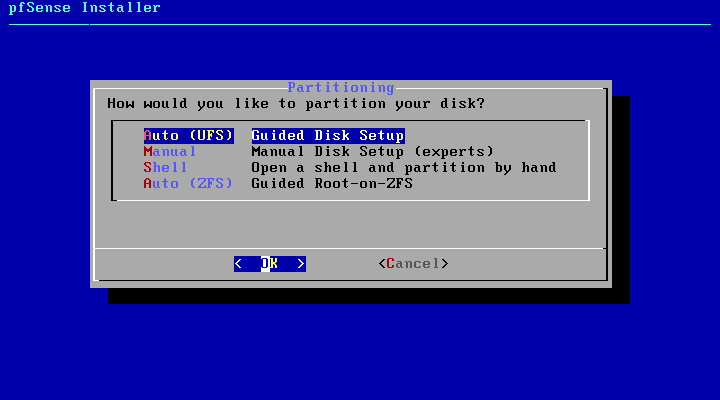
Next step is to select filesystem. By default UFS is selected. ZFS support is currently experimental. Select OK to continue. This option automatically configures the hard drive.
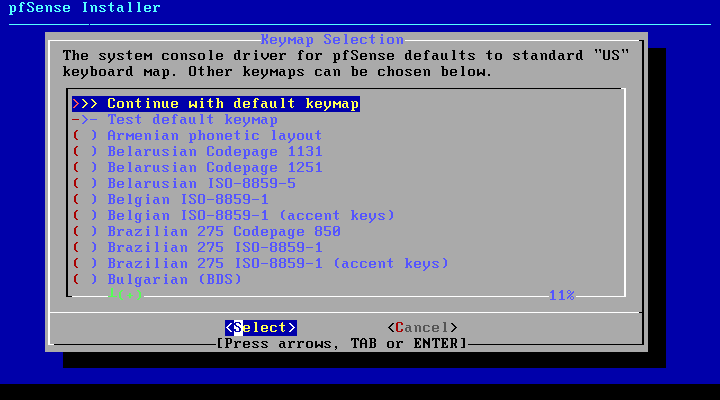
The following step allows Keymap Selection. Standard US is default. Continue to the next step with Select.
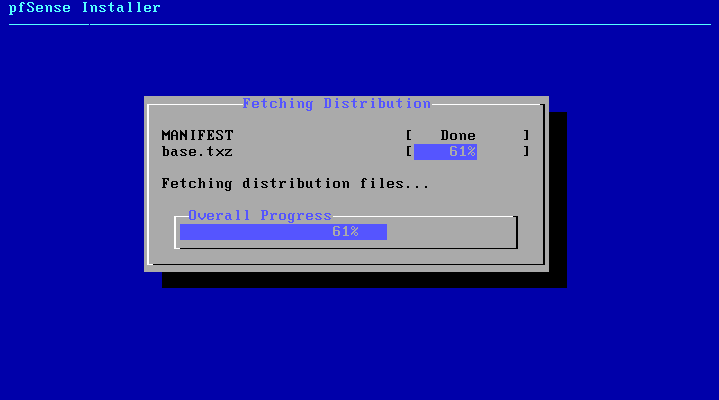
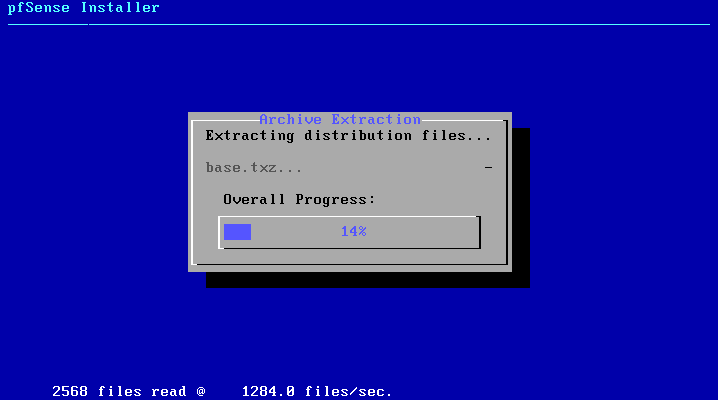
The install will proceed, wiping the target disk and installing pfSense. Copying files may take some time to finish.
It usually takes no longer than a couple of minutes.
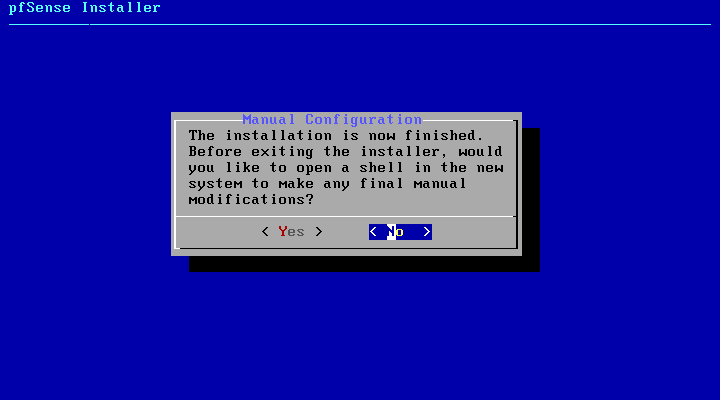
After installation completion manual configuration options are offered, select No to continue.
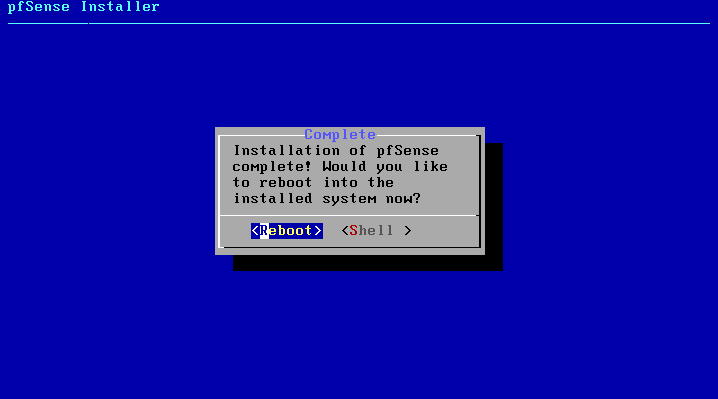
Now the system must reboot so that pfSense may start from the target disk. Select Reboot and then press Enter. Be sure to remove the disc or USB memstick so that the system will not attempt to boot from there next time.
After the system reboots, pfSense will be running from the target disk. The next step is to Assign Interfaces on the Console below.
Assign Interfaces on the Console
The default configuration file on pfSense 2.3 has em0 assigned as WAN, and em1 assigned as LAN. If the target hardware has em0 and em1, then the assignment prompt is skipped and the install will proceed as usual. Several other common platforms such as our SG systems, APU, and ALIX are also recognized and will have their interfaces assigned in the expected order.
If the hardware platform cannot be identified, a list of network interfaces and their MAC addresses that were located on the system will appear, along with an indication of their link state if that is supported by the network card. The link state is denoted by “(up)” appearing after the MAC address if a link is detected on that interface. The MAC (Media Access Control) address of a network card is a unique identifier assigned to each card, and no two network cards should have the same MAC address. After that, a prompt will be shown for VLAN configuration.
VLANS
The option to assign VLANs is presented first. If VLANs are not required, or they are not known, enter No here. VLANs are optional and are only needed for advanced networking. VLAN-capable equipment is also required if they are to be used. See VLAN Trunking for details.
LAN, WAN, OPTx
The first interface prompt is for the WAN interface. If the interface is known, enter its name, such as igb0 or em0 and press Enter. If the identity of the card is not known, see the next section for the Auto Assign Procedure.
The second interface prompt is for the LAN interface. Enter the appropriate interface, such as igb1 or em1, and press Enter again. If only the WAN interface is to be used, and no LAN, press Enter without giving any other input.
Only one interface (WAN) is required to setup pfSense. If more interfaces are available they may be assigned as LAN and OPTx interfaces. The procedure is the same for additional interfaces: Enter the appropriate interface name, then press Enter.
When there are no more interfaces to add, press Enter. The list of assigned interfaces is displayed. If the mappings are correct, enter y, otherwise enter n and repeat the assignment.
NOTE: If only one NIC is assigned (WAN), This is called Appliance Mode. In this mode, pfSense will move the GUI anti-lockout rule to the WAN interface so the firewall may be accessed from there. The usual routing functions would not be active since there is no “internal” interface. This type of configuration is useful for VPN appliances, DNS servers, etc.
Auto Assign Procedure
For automatic interface assignment, first unplug all network cables from the system, then type a and press Enter. Now plug a network cable into the interface that should connect to the WAN, and press Enter. If all went well, pfSense should know now which interface to use for the WAN. The same process may be repeated for the LAN, and any optional interfaces that will be needed. If a message is displayed such as No link-up detected, see Installation Troubleshooting for more information on sorting out network card identities.
pfSense Default Configuration
After installation and interface assignment, pfSense has the following default configuration:
WAN is configured as an IPv4 DHCP client.
WAN is configured as an IPv6 DHCP client and will request a prefix delegation.
LAN is configured with a static IPv4 address of 192.168.1.1/24.
LAN is configured to use a delegated IPv6 address/prefix obtained by WAN (Track IPv6) if one is available.
All incoming connections to WAN are blocked.
All outgoing connections from LAN are allowed.
NAT is performed on IPv4 traffic leaving WAN from the LAN subnet
The firewall will act as an IPv4 DHCP Server
The firewall will act as an IPv6 DHCPv6 Server if a prefix delegation was obtained on WAN, and also enables SLAAC
The DNS Resolver is enabled so the firewall can accept and respond to DNS queries.
SSH is disabled.
WebGUI is running on port 443 using HTTPS.
Default credentials are set to a username of admin with password pfsense.
Connect to the GUI
After installation and assignment, a shell menu is presented on the console with a number of options. pfSense now is ready to be accessed via the network, either on the LAN interface (if one is assigned), or on the WAN interface in a single interface deployment.
VMware Virtual Machine - Netgate Device ID: c2c5a7c0a44a40341b8a

*** Welcome to pfSense 2.4.4-RELEASE (amd64) on pfSense ***

 WAN (wan)       -> em0        -> v4/DHCP4: 172.21.16.38/24
 LAN (lan)       -> em1        -> v4: 192.168.1.1/24

 0) Logout (SSH only)                  9) pfTop
 1) Assign Interfaces                 10) Filter Logs
 2) Set interface(s) IP address       11) Restart webConfigurator
 3) Reset webConfigurator password    12) PHP shell + pfSense tools
 4) Reset to factory defaults         13) Update from console
 5) Reboot system                     14) Disable Secure Shell (sshd)
 6) Halt system                       15) Restore recent configuration
 7) Ping host                         16) Restart PHP-FPM
 8) Shell

Enter an option:
The WebGUI is used to configure the vast majority of items in pfSense.
Connect a client PC to the LAN of the firewall and ensure it obtained an IP address. If it did not, it may be plugged into the wrong port.
Open a web browser and navigate to https://192.168.1.1/, using the default username admin and password pfsense to login.
The first visit to the WebGUI will be redirected to the setup wizard, which is also accessible at System > Setup Wizard. Proceed through the wizard and configure things as desired.
Installation Troubleshooting
If the installation did not proceed as planned, see Installation Troubleshooting for help.
Additional Information
For additional information on Installing pfSense, see the Installing and Upgrading section. The pfSense Book and pfSense Hangouts on Youtube also cover a variety of relevant topics.