Virtualizing pfSense with Hyper-V
This article is about building and running a pfSense® virtual machine under Microsoft Hyper-V. The guide applies to any Hyper-V version, desktop or server (this includes the standalone Hyper-V Server). The guide explains how to install any major pfSense software version under Hyper-V. Article covers the Hyper-V networking setup and pfSense software virtual machine setup process. The guide does not cover how to install Hyper-V or Windows Server. A basic, working, pfSense virtual machine will exist by the end of this article.
Note
If pfSense software will be used as a perimeter firewall for an organization and the “attack surface” should be minimized, many will say it is preferable to run it non-virtualized on stand-alone hardware. That is a decision for the user and/or organization to make, however. Now back to the topic.
We’re going to start at the point where we have a Windows Server 2016 with the Hyper-V role installed. If other VMs are already running on Hyper-V, then it is not likely necessary to follow the networking steps too closely. However, we recommend skimming through it to see what is suggested before building the pfSense virtual machine part.
Assumptions
Hyper-V host is up and Hyper-V role has been installed.
The reader has an basic understanding of networking and Hyper-V virtualization
Basic Hyper-V Networking
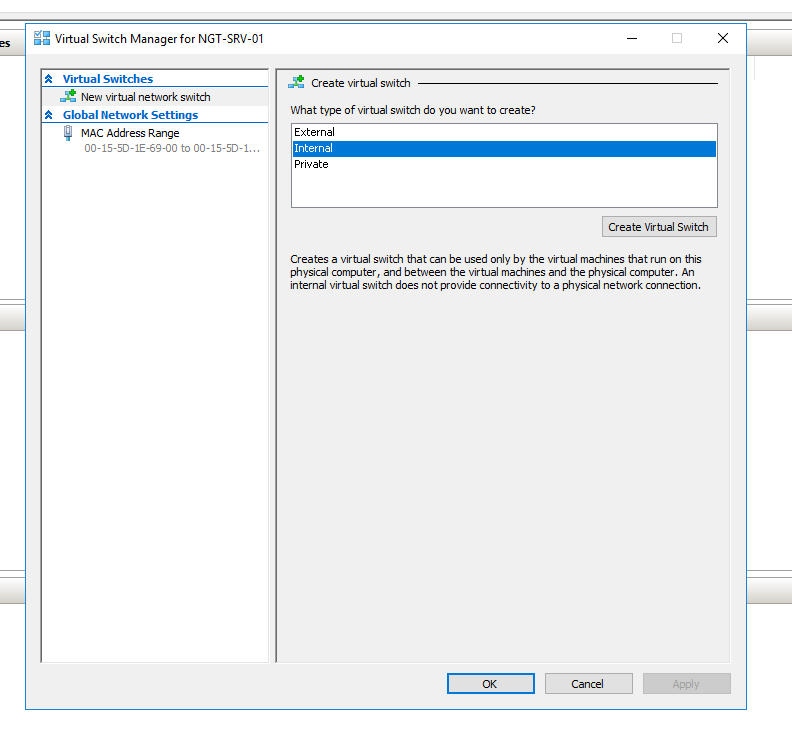
To virtualize pfSense software, first create two Virtual Switches via Hyper-V Manager. In the Hyper-V Manager open Virtual Switch Manager from the Actions menu. Select Internal type of virtual switch and click Create Virtual Switch
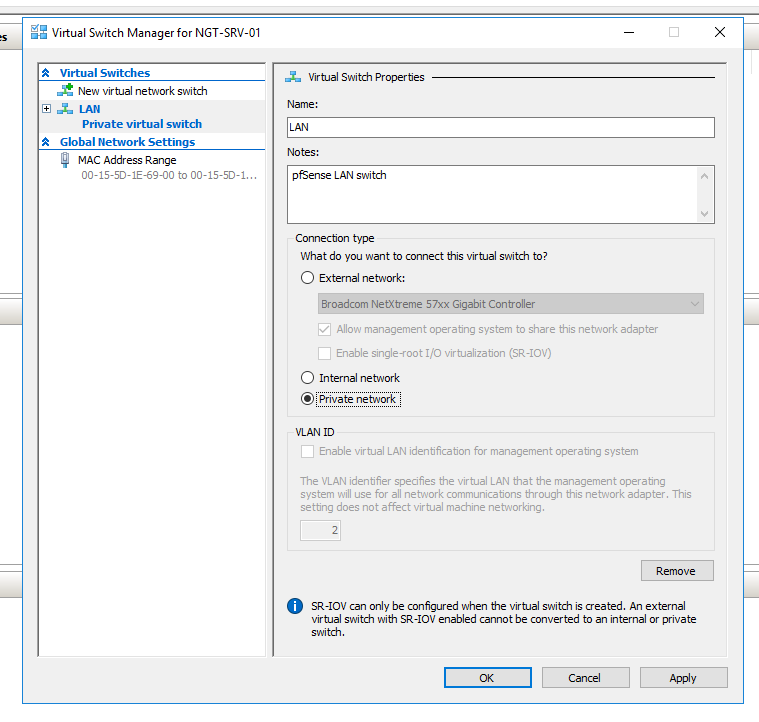
Name the newly added switch LAN and select private network. Click apply.
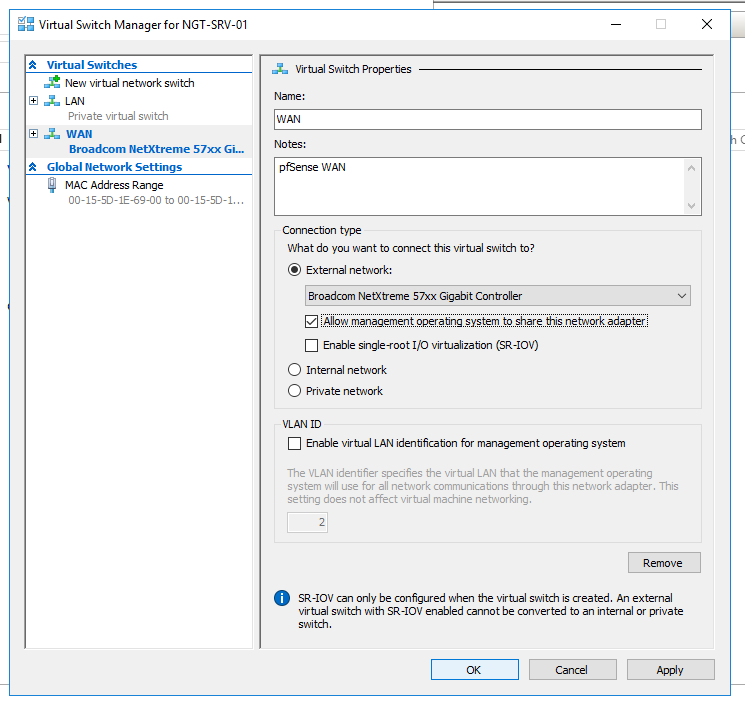
Now we create WAN switch the same way we did with LAN. Make sure Allow management operating system to share this network adapter is not selected if you have a dedicated NIC for WAN. For the purpose of this guide the management was allowed, however in production you must have a separate NIC for WAN. Click OK.
Creating the virtual machine
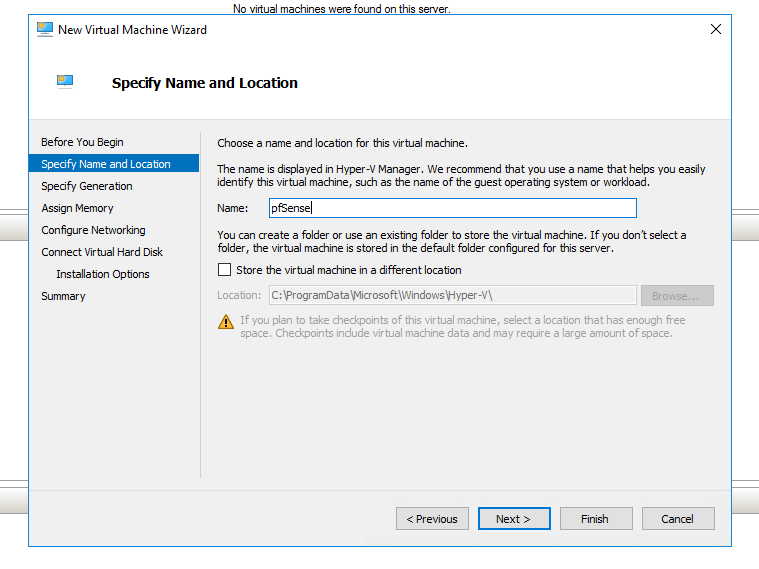
After creating WAN and LAN switches, we move to virtual machine creation. Start the new virtual machine wizard add a name.
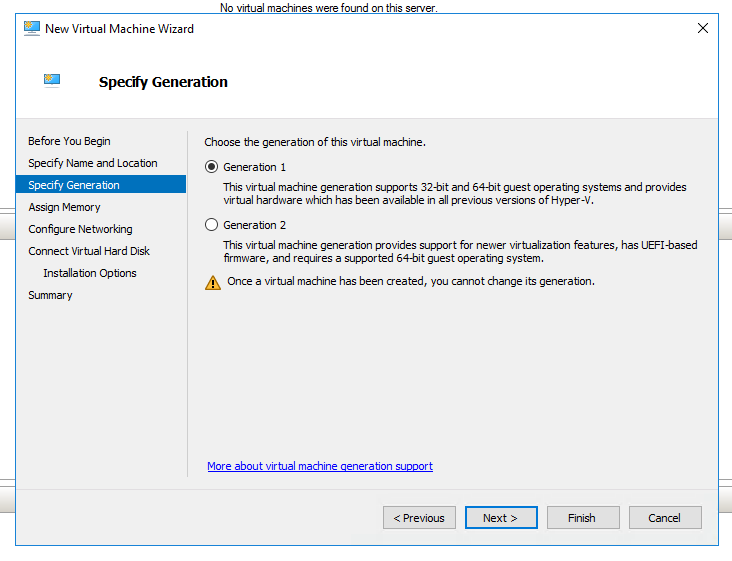
After clicking next select the appropriate virtual machine Generation. If you’re installing pfSense software version 2.3.x, select Generation 1. If you are installing pfSense software version 2.4.x, select Generation 2.
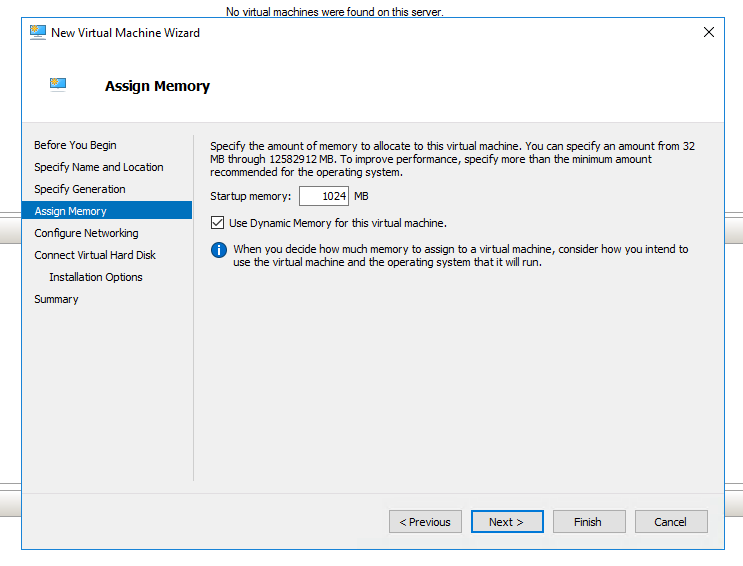
On the Assign Memory step add enough of RAM for your needs. For this guide, we have added 1GB. 2GB is recommended if you intend to run multiple packages.
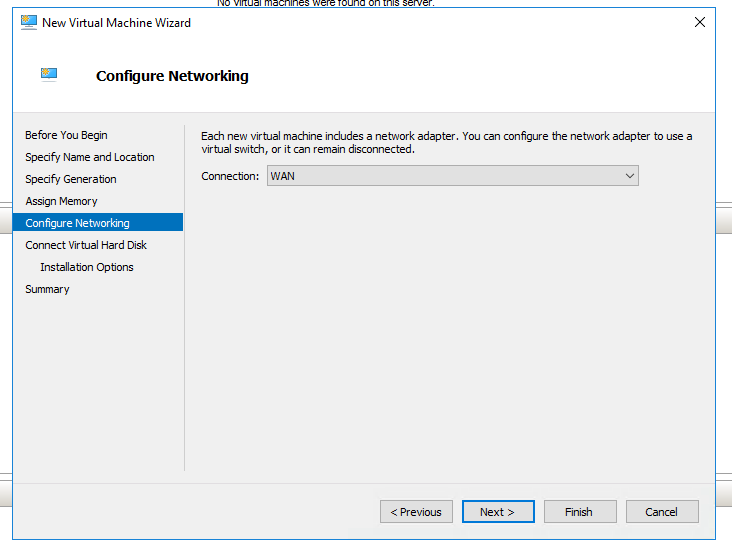
Next step is to Configure Networking, select WAN from Connection drop-down menu. We will add LAN later.
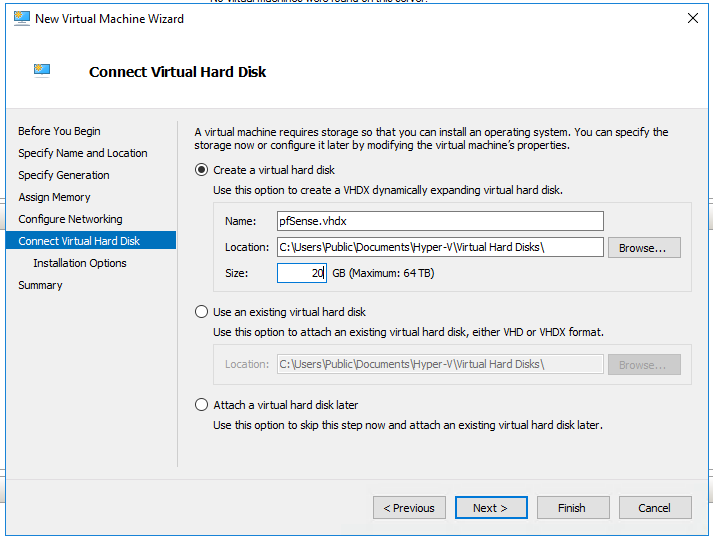
On the next step select Create a virtual hard disk and assign 10-20GB to the pfSense firewall. Larger disk size is required if you plan on running Squid caching.
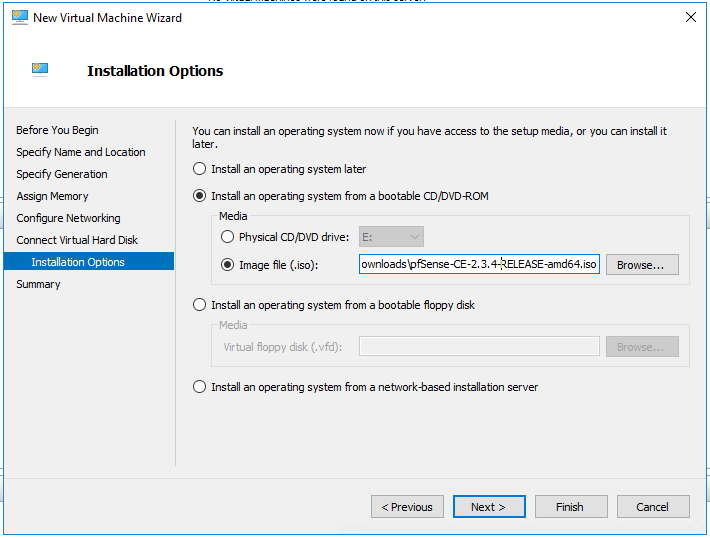
Select Install an operating system from a bootable CD/DVD-ROM and browse to the pfSense installer ISO.
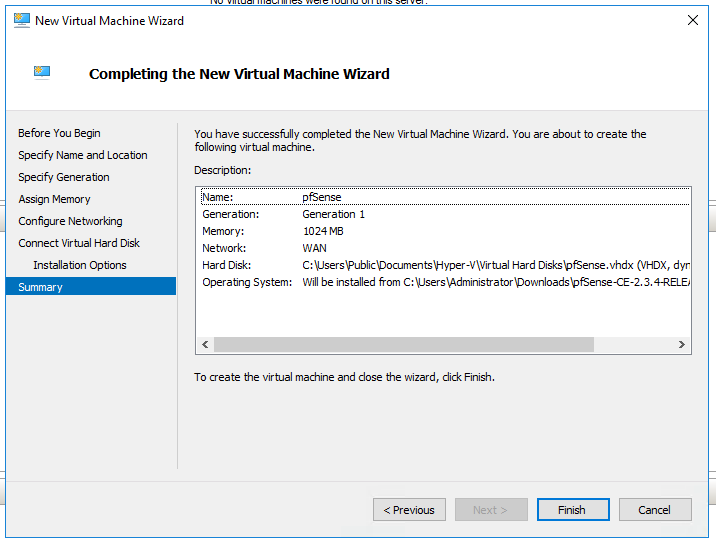
Review the virtual machine information and finish the wizard!
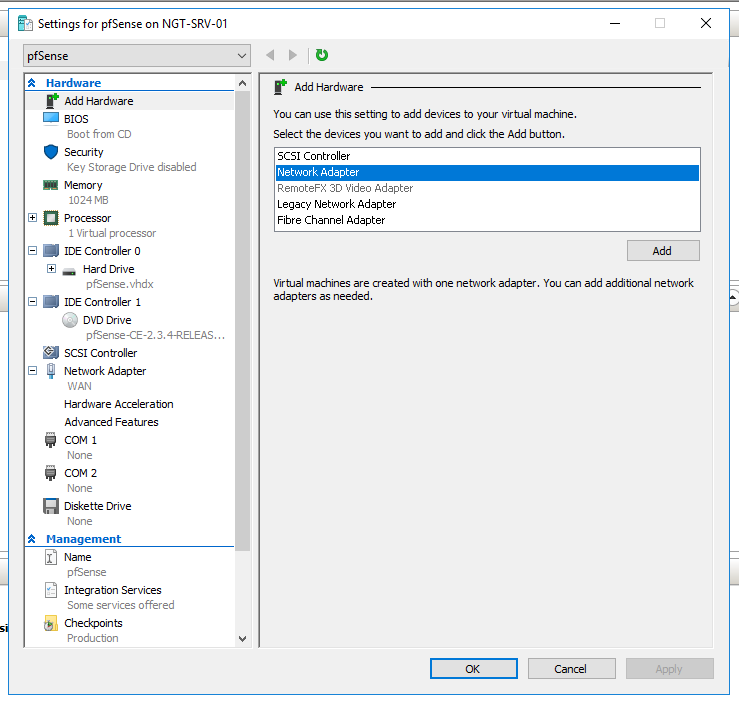
Open Settings of the newly created pfSense virtual machine and add another network adapter. Select LAN virtual switch for the adapter.
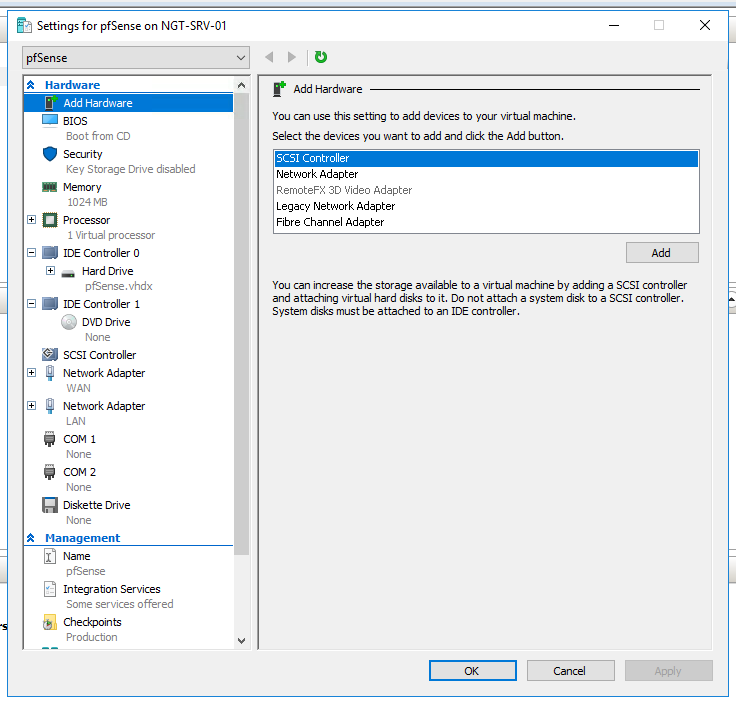
Review the VM settings and make sure you have WAN and LAN switches selected under network adapters
Installing pfSense Software
After successfully creating and configuring the pfSense virtual machine, it’s time to start it.
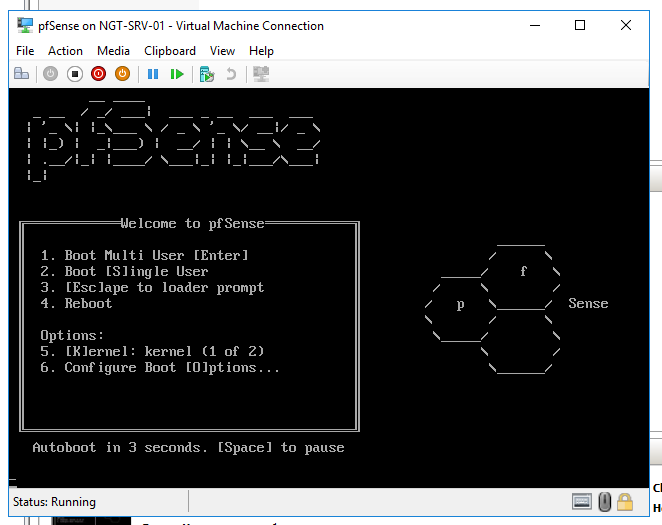
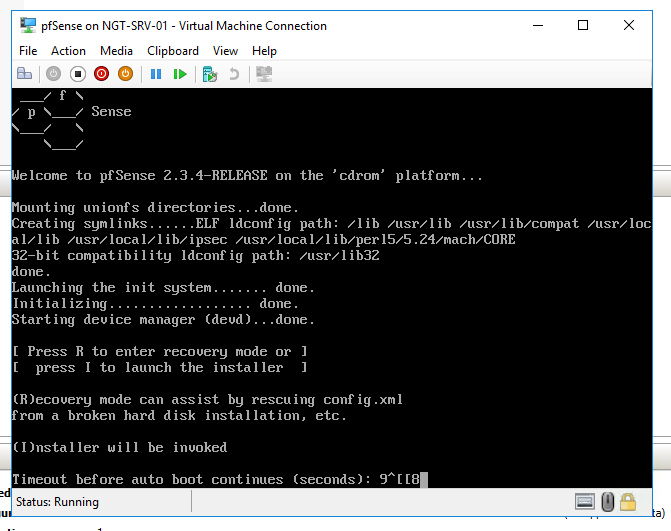
Wait for the virtual machine to boot up and press I to invoke installer.
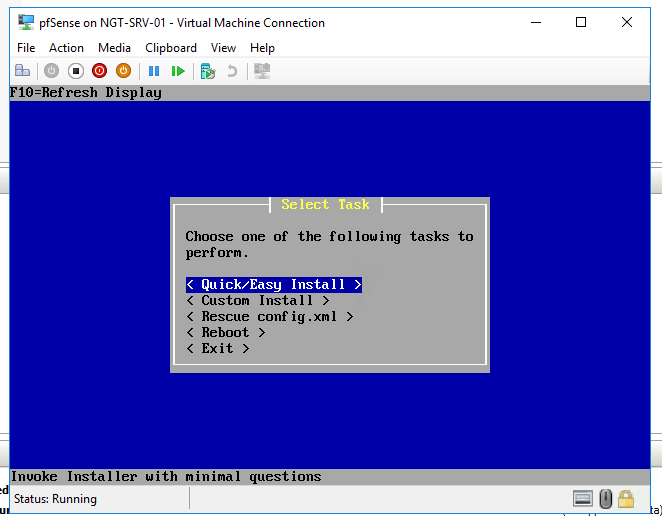
Once installer boots up select the Quick/Easy Install and follow the installer steps.
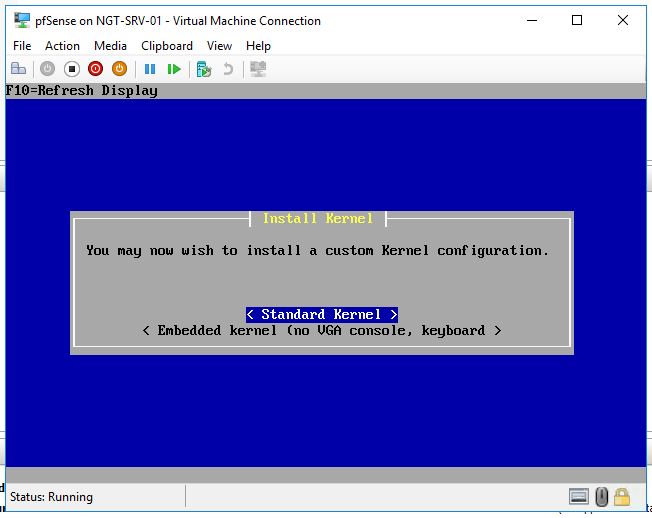
When prompted, select the standard kernel and continue the installation.
After installation is complete, select reboot and eject the ISO.
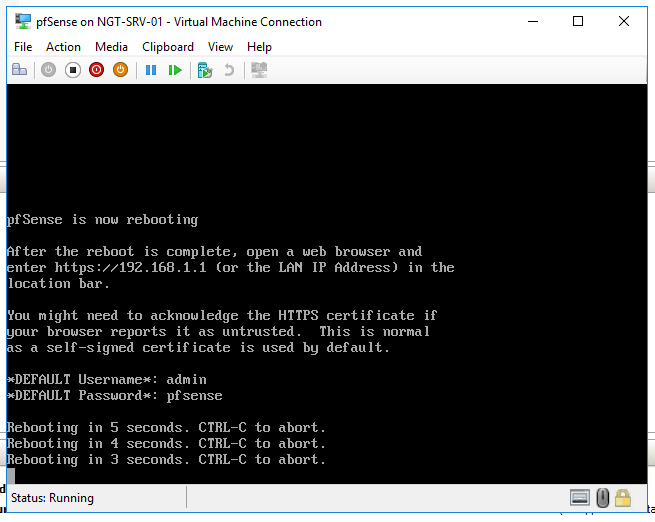
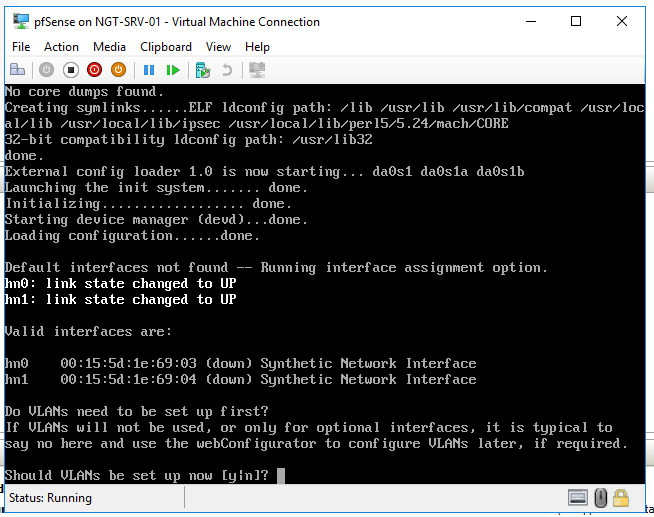
First boot and interfaces assignment
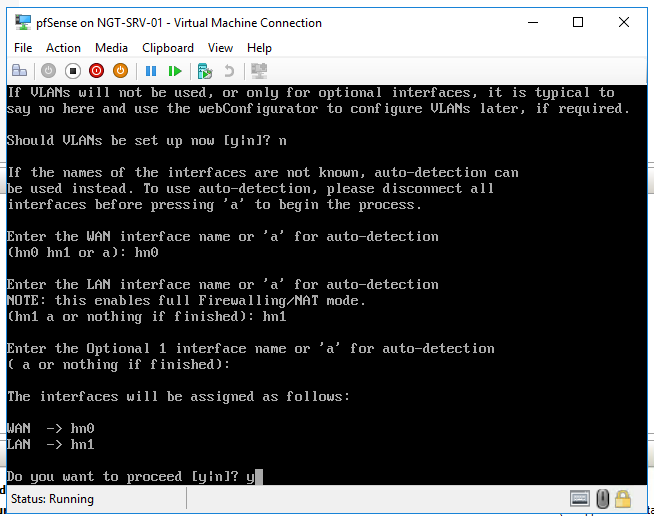
The pfSense virtual machine should boot up quickly and welcome you with Interfaces assignments. Select N to not set up VLAN’s now.
In the following steps assign WAN and LAN interfaces to the appropriate network adapters. You can check the MAC address within the virtual machine settings.
After assigning interfaces, pfSense software will finish the boot-up. Verify both interfaces have the correct IP addresses.
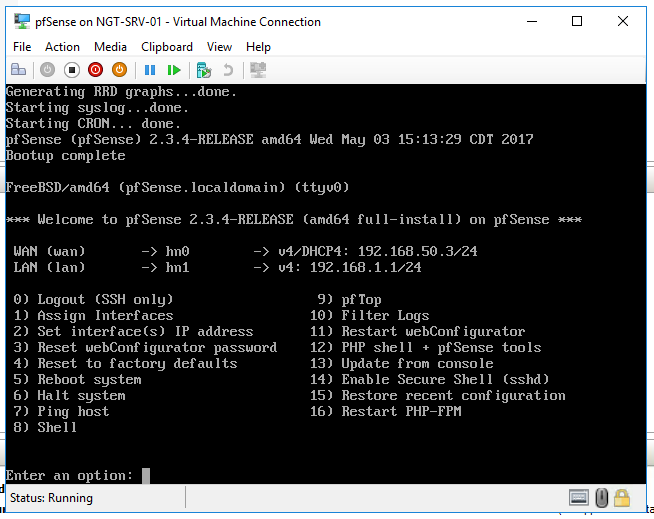
Congratulations! You now have a pfSense firewall running as a virtual machine on Microsoft Hyper-V.
Guide under construction, may have minor errors